2a. How to Create a New Giving Button
- 18 Apr 2024
- 2 Minutes to read
- Print
- DarkLight
2a. How to Create a New Giving Button
- Updated on 18 Apr 2024
- 2 Minutes to read
- Print
- DarkLight
Article summary
Did you find this summary helpful?
Thank you for your feedback!
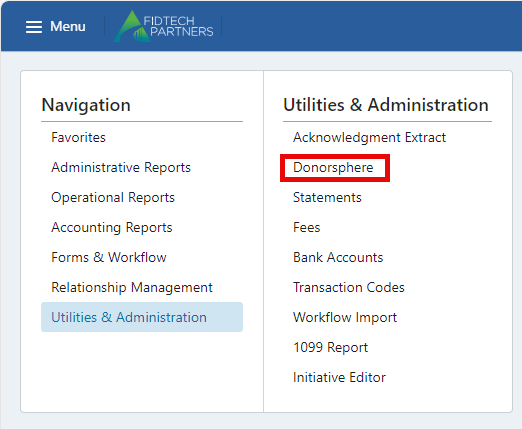
Under Menu -> Utilities & Administration -> navigate to DonorSphere.
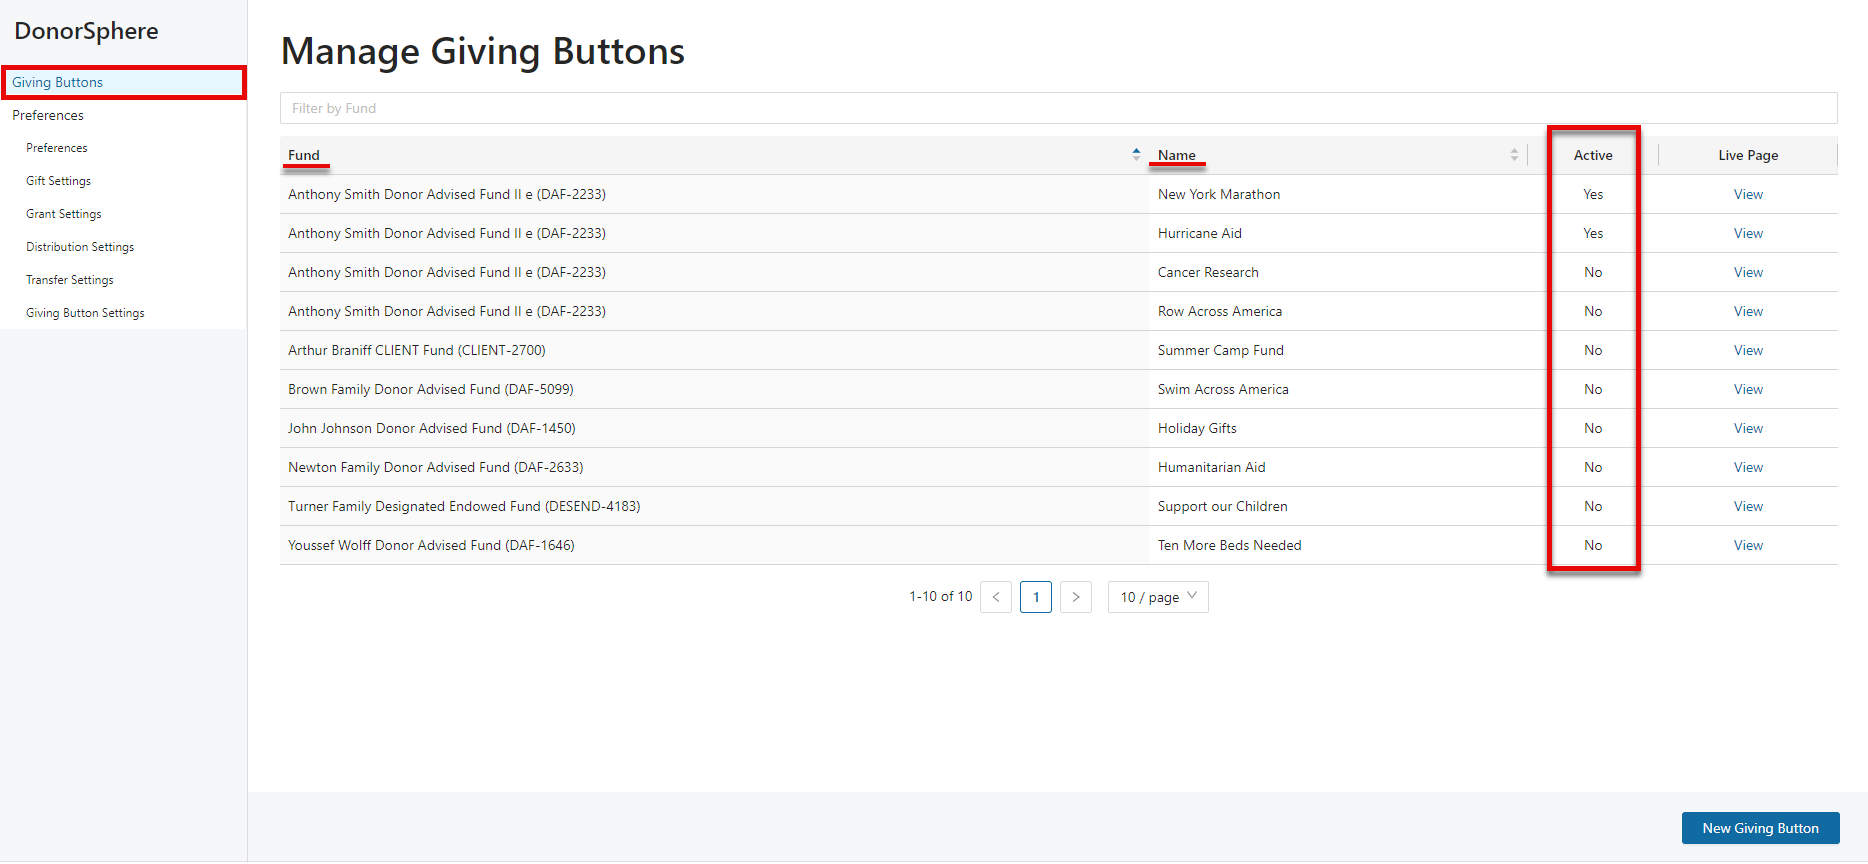
Once you have navigated to DonorSphere, click on the “Giving Buttons” menu option on the left side of the screen. This will open the “Manage Giving Buttons” window, which will list any existing Giving Buttons and their status. “Fund” indicates the name of the fund receiving donations and while “Name” indicates the title that will appear on the Giving Button’s live page. Please Note any buttons marked as “Active” indicate they are live and able to receive donations. Rendering a Giving Button “Inactive” disables the donation page and renders the link unusable.
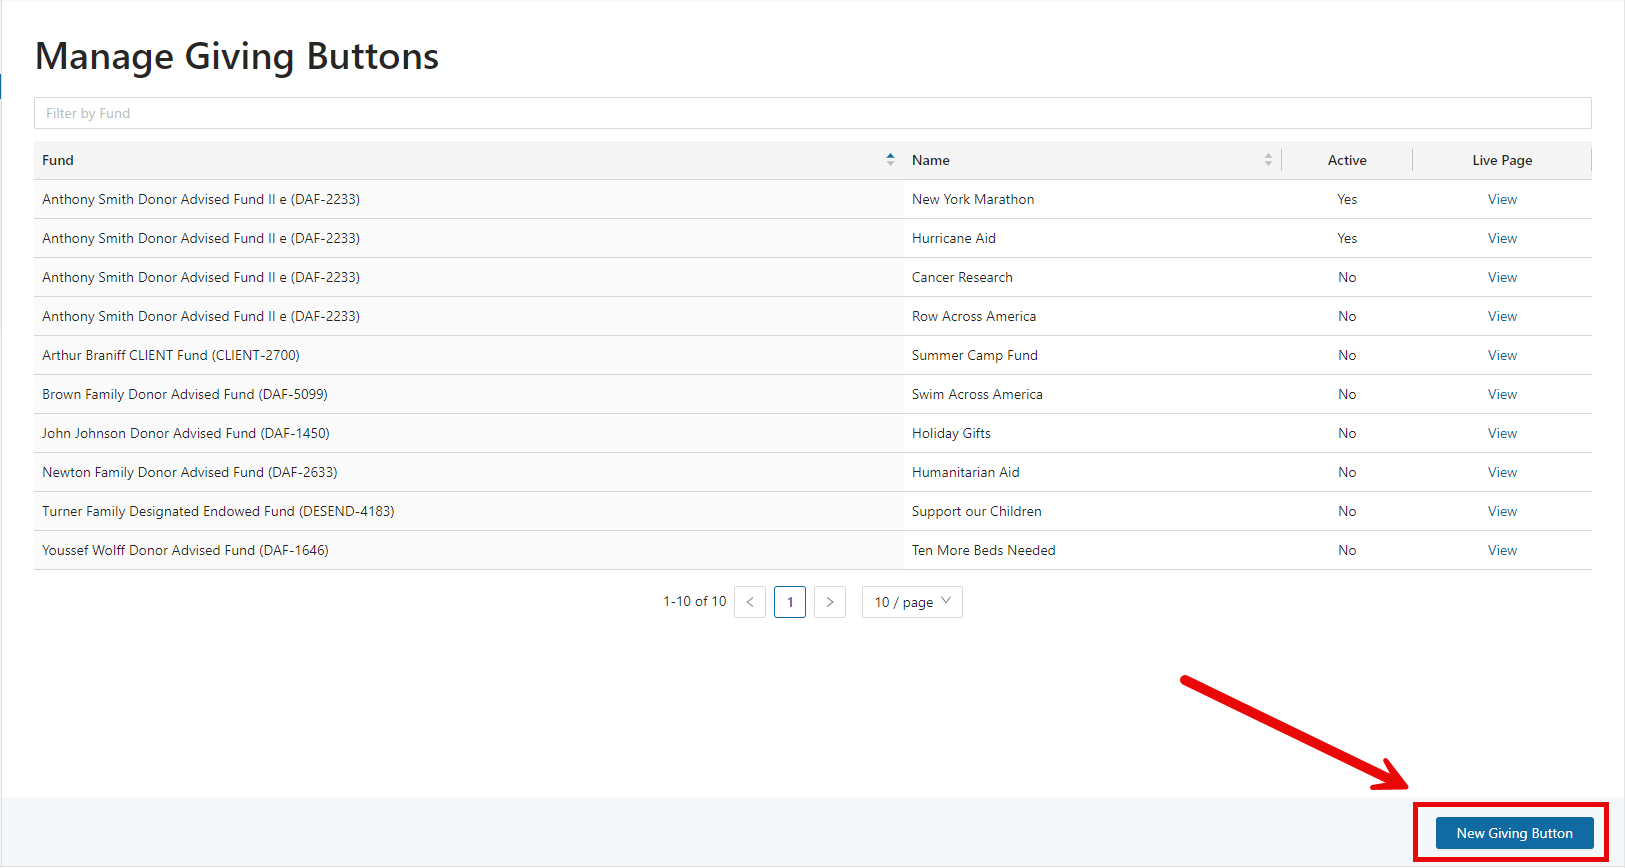
Click “New Giving Button” on the bottom right-hand corner to create a new Giving Button for a fund.
This will open a new section to input the Giving Button information.
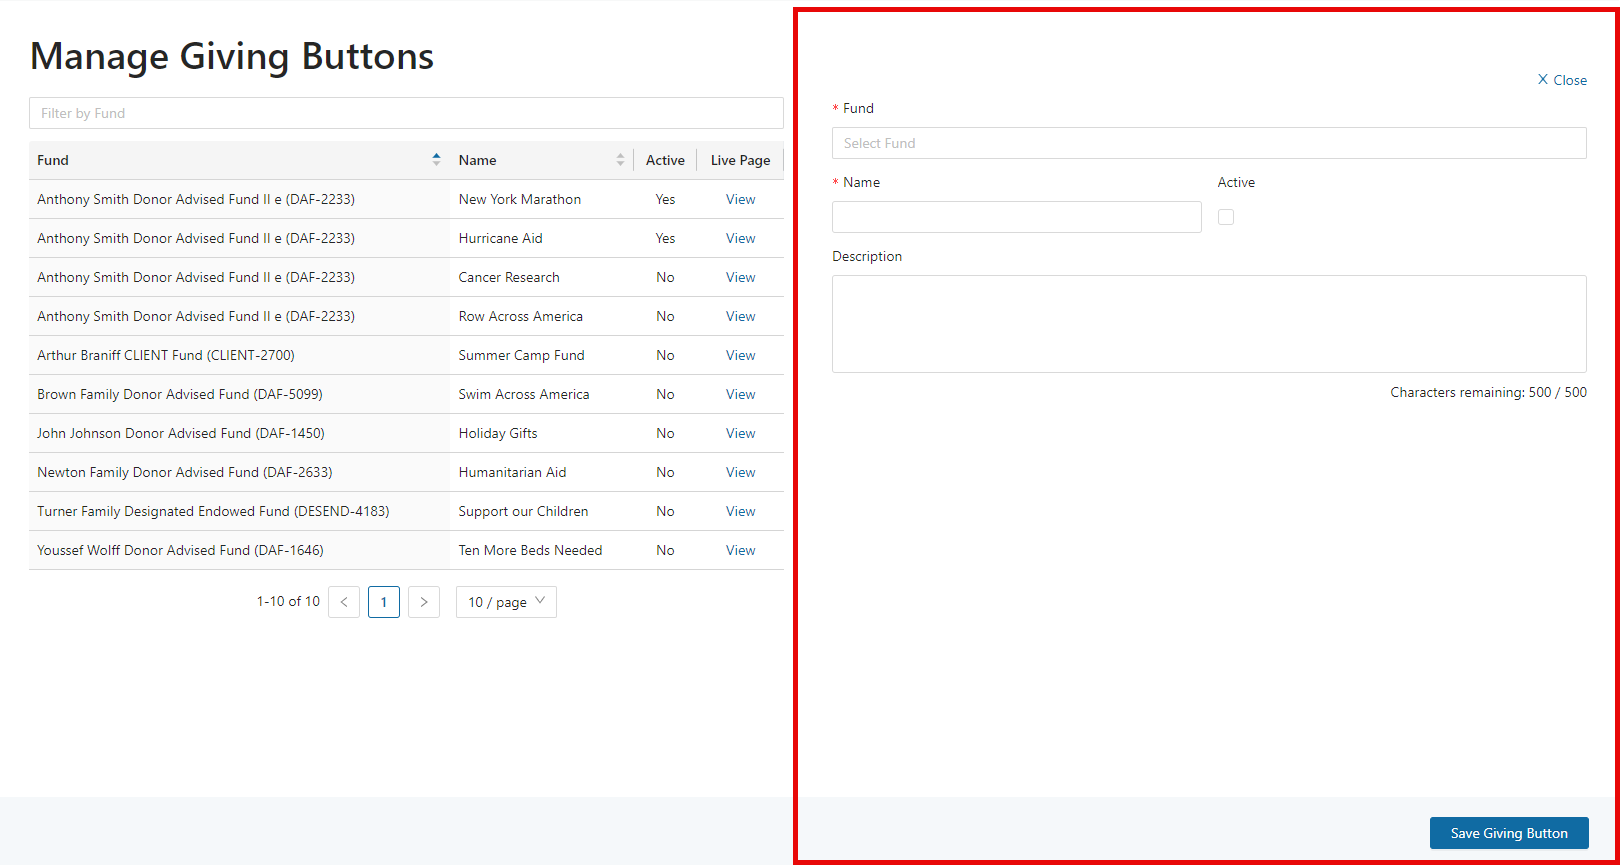
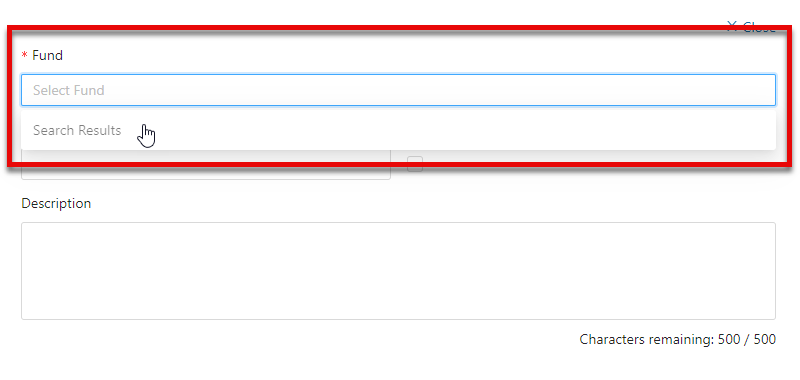
Enter a name to select the Fund the Giving Button will support. Only certain Fund Types that have been marked as “Giving Button Eligible” can be selected to receive donations. Funds that are already eligible will be available through the search option. If you want to add/remove a Fund Type’s Giving Button eligibility, please reach out to a Client Services Representative.
If you are creating a Giving Button for a new Fund, you must first set that up through the standard procedures. (See Fund Setup in your How-To Guide for any questions). Please ensure you select the correct Fund as this cannot be changed after the Giving Button is created. If you select the incorrect Fund or decide to change Funds afterwards, you will need to make this Giving Button inactive and create a new Giving Button. When searching for a Fund to create a Giving Button only Active Funds are available for selection.
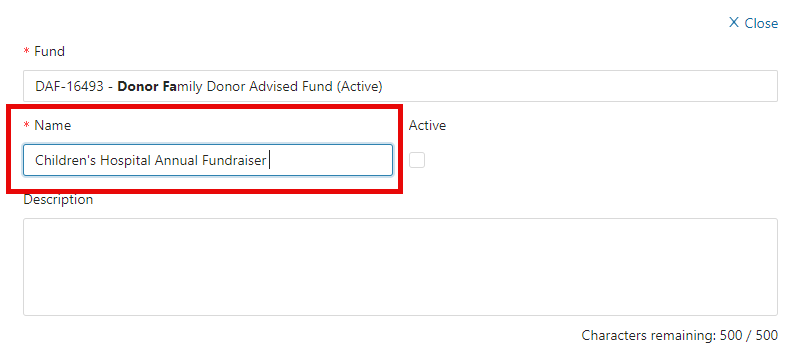
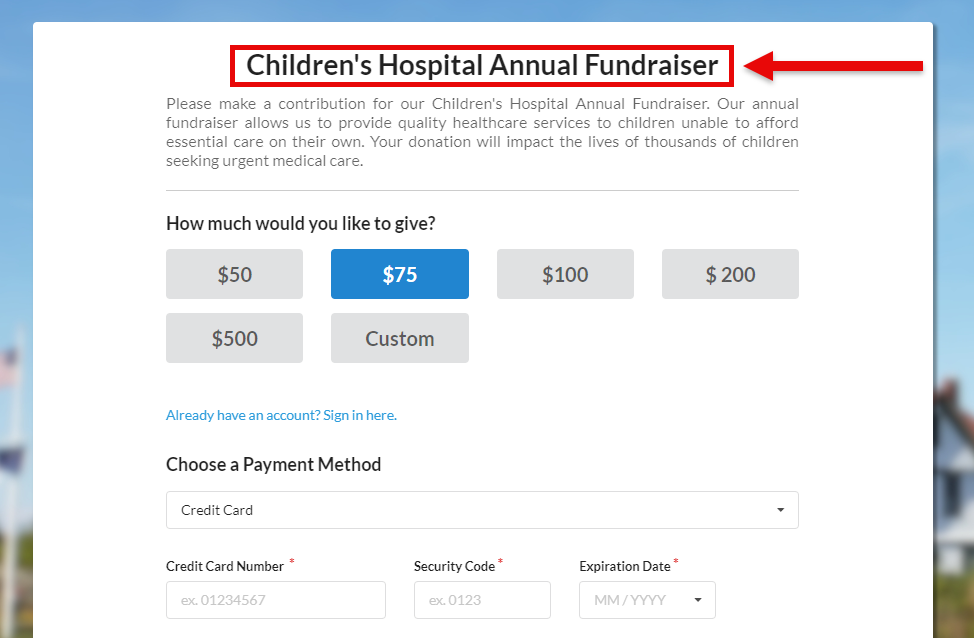
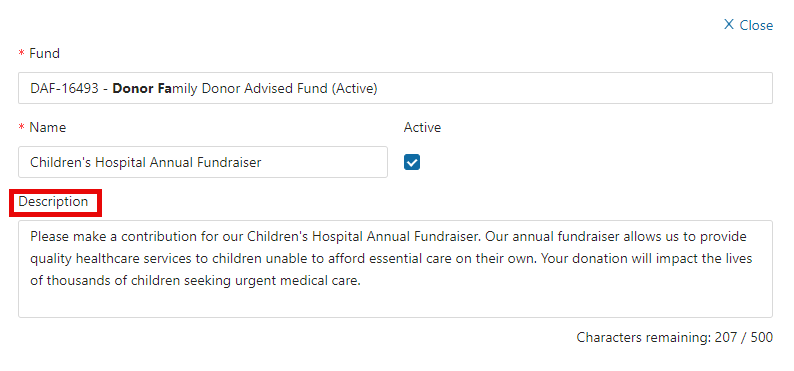
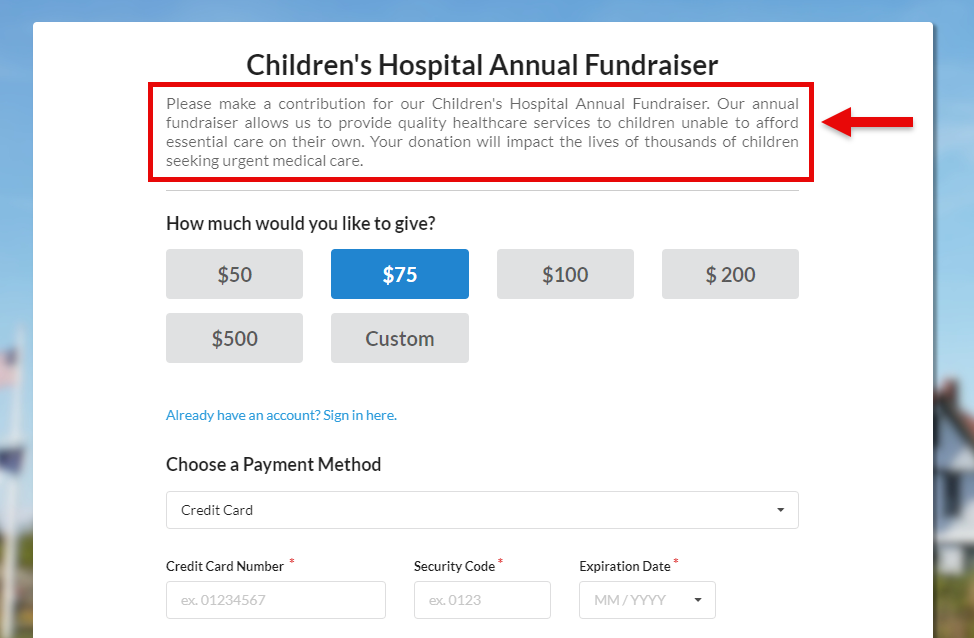
Enter a Name that will appear as the Giving Button Title on the live webpage. This will be seen whenever anyone clicks on the Giving Button to donate. Giving Button Names must be unique and cannot be the same as any of your existing Giving Buttons. See Below for an example as to how it will be seen on the webpage.
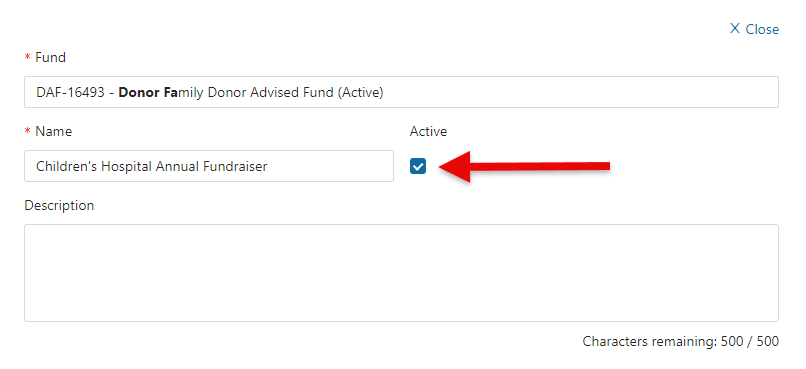
Selecting “Active” will make the webpage associated with URL live as soon as the button is saved. Otherwise, the checkbox can be left unselected, and the Giving Button can be activated later.
Provide an optional, but highly recommended, description of the Giving Button’s purpose. This description will appear directly beneath the Giving Button Title and is an opportunity to thank givers for their support in advance of them selecting a monetary amount to give. If you are unsure of what information you want to put in the description you will be able to update this after the Giving Button has been created.
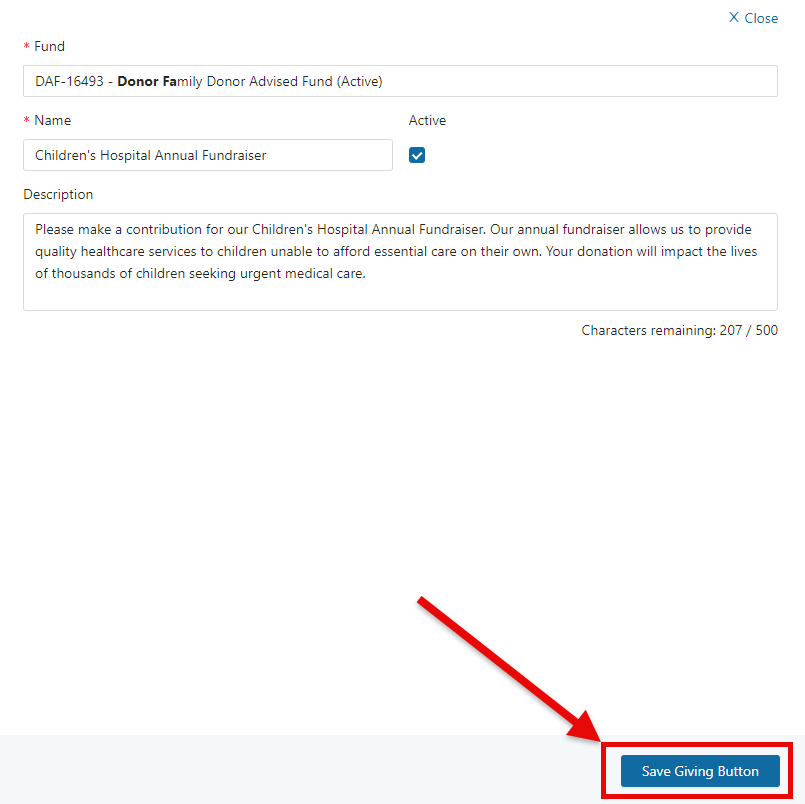
Hit “Save Giving Button” on the bottom right-hand corner of the screen.
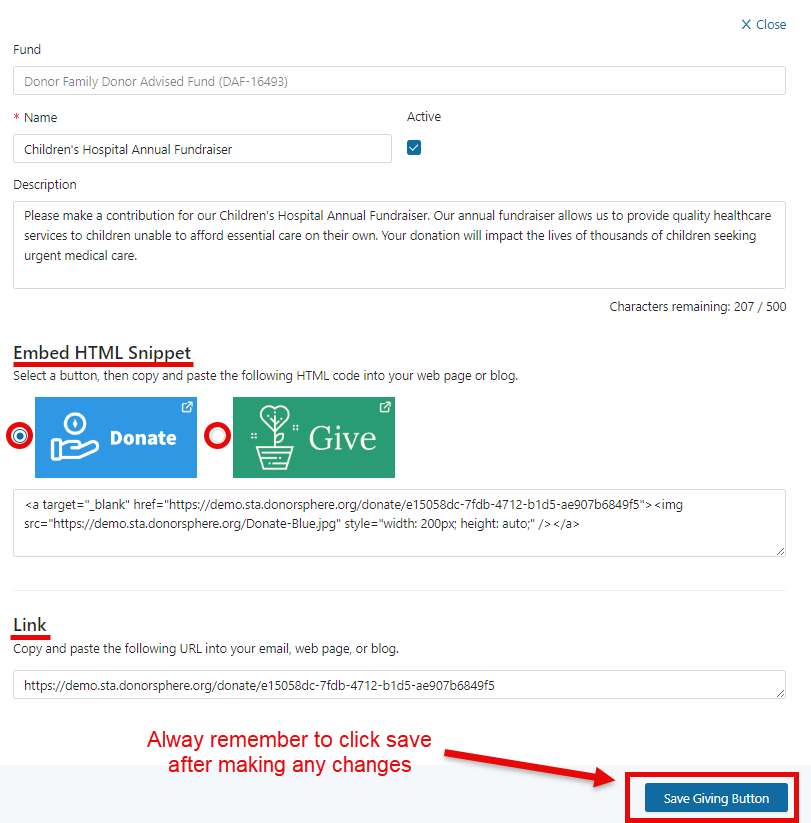
After saving the Giving Button, the embed button options and a link to the Giving Button webpage will appear. Giving Buttons can be embedded via a short HTML Snippet or shared via a link. The “Donate” Blue and “Give” Green button options are simply cosmetic preferences, both operate the same way. Always click “Save Giving Button” at the bottom of the page to confirm any changes.
Was this article helpful?