Fund Setup
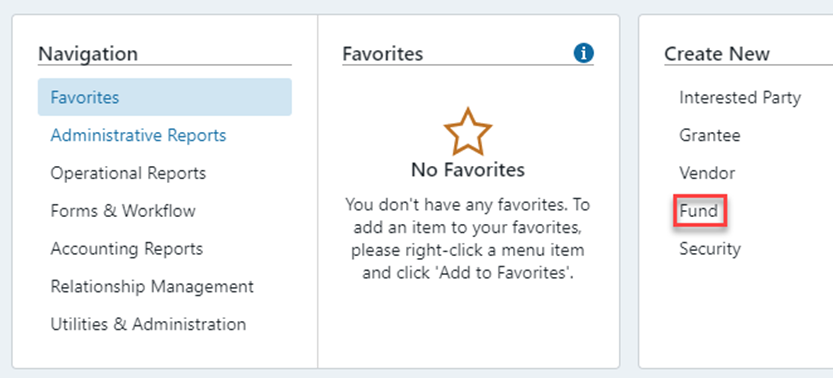
To set up a new Fund, if the User has appropriate permissions, the User will go to “Create New” within the menu screen and click on Fund:
This will open the New Fund Setup screen where the User will enter details of the new Fund:
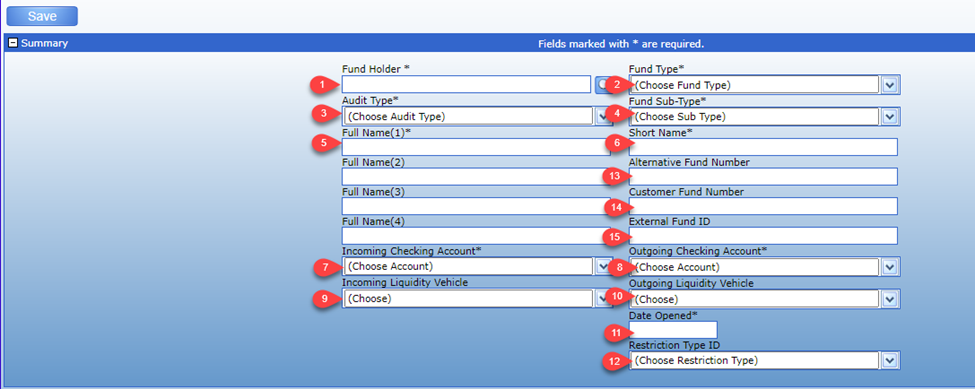
Account Holder – this is the Entity holding the Fund/Account.
Select the Fund Type.
Select the Audit Type.
Select the Fund Sub-Type.
Enter the Fund Name – the accuracy of this is very important as this will appear on Donor statements and other reports (this is typically the name included in the Donor Contract and as provided by the Donor).
The Short Name is the alpha sort for the Fund – this will auto-populate with the first line of the Fund Name but can be changed as needed.
Incoming Checking Account – account that will be used most often for transactions.
Outgoing Checking Account – account that will be used most often for transactions.
Incoming Liquidity Vehicle – this is the Cash Account for the Fund. The default incoming liquidity vehicle for the Fund can be set here. Creating a Liquidity Vehicle will be discussed later in this document.
Outgoing Liquidity Vehicle – this is the Cash Account for the Fund. The default outgoing liquidity vehicle for the Fund can be set here. Creating a Liquidity Vehicle will be discussed later in this document.
Date Opened – date Fund was Opened.
Select the Restriction Type - this is the Fund Balance Restriction Types that you will see on the Balance sheet.
Alternative Fund Number – this is an additional Fund Number that can be used to link with external systems.
Customer Fund Number – this as an additional Fund Number that may be used to hold the legacy Fund post conversion.
External Fund Id - this is an additional Fund Number that can be used to link with external systems.
Date Pending Closed - will be discussed later in this document.
Date Closed – will be discussed later in this document.
Fiscal Year End.
Balance Frequency – select frequency for the account (i.e., Monthly, Quarterly).
Default check form – defaults based on Fund Type. There the Check letters created for Grants and Expenses.
Insufficient Funds Override.
Reports – check as ‘Financial’ (include this on consolidated reporting) – this is the default.
Corpus – check to track the initial contribution as part of the Fund Balance.
Invade Corpus – check to exclude the initial contribution as part of the Fund Balance.
Anonymous Flag – if selected, transactions made from this account will default to being made “anonymously.”
Fund Purpose – enter Fund Purpose if applicable. Mainly used for Restricted Funds.
Fee Schedule(s) – select the appropriate Fee Schedule. Holdings and Fixed Fees are selected here.
Principal Asset Model – select the model required or create custom by selecting “Add Custom.”
Principal Accounting Method – leave as the Average Cost unless otherwise informed.
Principal Cash Model – select the model required or create custom by selecting “Add Custom.”
Account Holder Information – this section will reflect the information related to the Account Holder selected in item #1 above.
Documents – upload any documents associated with the Fund (e.g., signed Fund Agreement).
Fund Notes – place any notes you wish to store where there is not a place to store the information elsewhere in the System.
Note/History – this section will track the audit trail of the Fund as any future updates are made.
Once the Fund details are completed, click on the "Save" button which will assign the new Fund a System-generated Fund Number and put the Fund into Setup status. To forward the fund for approval, click the "Approve" button.
Approving a New Fund
When the Fund appears in your Inbox for review, review all the information (the Fund profile has expandable sections to review all the details).
If the item needs to be changed go to the ‘Notes/Detail’ section, enter a message to provide detail on what needs to be changed, set the status to ‘Return for Correction’ and submit.
If all entries are correct, change the status to ‘Active’ and submit.
Opening a New Fund as a Donor
Starting 2026, DonorSphere Users can also open a new Fund/Account using DonorSphere. To learn more about that click on the link below:
DonorSphere User - Opening a New Fund